Playing the guitar sounds simple enough as it is, but if you’re a beginner, don’t forget that you should also know how to string a guitar as a guitarist.
This article will show you how to string a guitar like a pro today. It is a way that ensures your strings will not go out of tune as much and will not result in any unnecessary broken strings.
Quick Links
Things you will need
- Guitar
- Pack of strings
- String cutter
- String winder
- Flat surface
Step 1: Loosen the guitar strings
Begin with the high E string, which is the thinnest string. To loosen the string’s tension, utilize your string winder. When you are unsure of the direction to adjust the tuner, try hitting the notes and turning. When the note becomes higher in pitch, you are on the wrong track.
Loosen every string one at a time, dealing from the high E string to the low E string, till all six strings are loose and lying on the frets.
Step 2: Cut the guitar strings
Cut the strings above the soundhole to avoid scratching the surface of your guitar. Cut them one at a time.
Step 3: Remove the strings
Bridge pins will most likely be present when discovering how to string a steel-string acoustic guitar to keep the strings in order. Bridge pins are the bit pegs on your guitar’s bridge. Take the bridge pins using the string winder. Several string winders possess slots that allow you to remove the bridge pins without damaging the guitar easily.
Pull straight up once you’ve secured the bridge pin in the string winder’s notch. DO NOT Try Pulling THE BRIDGE PINS!
The bridge pins will most certainly break as a result of this. When you take the ball-end of the strings out from the bridge, make sure you replace the bridge pin in its holes so there are no misplaced bridge pins.
The next step in knowing how to string a guitar is to remove the strings first from the headstock. Just a reminder, the tip of the string is sharp, so take care not to hurt yourself!
Coiling the strings around each other is a safe technique to manage all of these threads, so they do not arm you or innocents.
Step 4 (Optional): Clean the guitar
After all of the guitar’s strings have been takeout from the guitar, you may clean any hard-to-reach areas. Some of you will not want to do this. However, always run a clean cloth around the headstock, fretboard, and bridge as a good practice. These areas tend to gather dust, so it’s always a good idea to clean them when you have the opportunity.
Step 5: Place the new strings
Each string package has a unique naming scheme to assist in differentiating which string is which. To understand that convention, be sure to read the package. If you can identify the string, look at the numbers on the wrapping: the higher the number, the string is thicker.
If you’re searching for string alternatives, keep in mind that it’s the cheapest method to play with the tone of your guitar. String packs may be dirt inexpensive or outrageously costly. However, strings are nearly usually less expensive than a new guitar. Open the package away from your face after you’ve found the low E string. If you are not careful, the string may uncoil and hit you in the face.
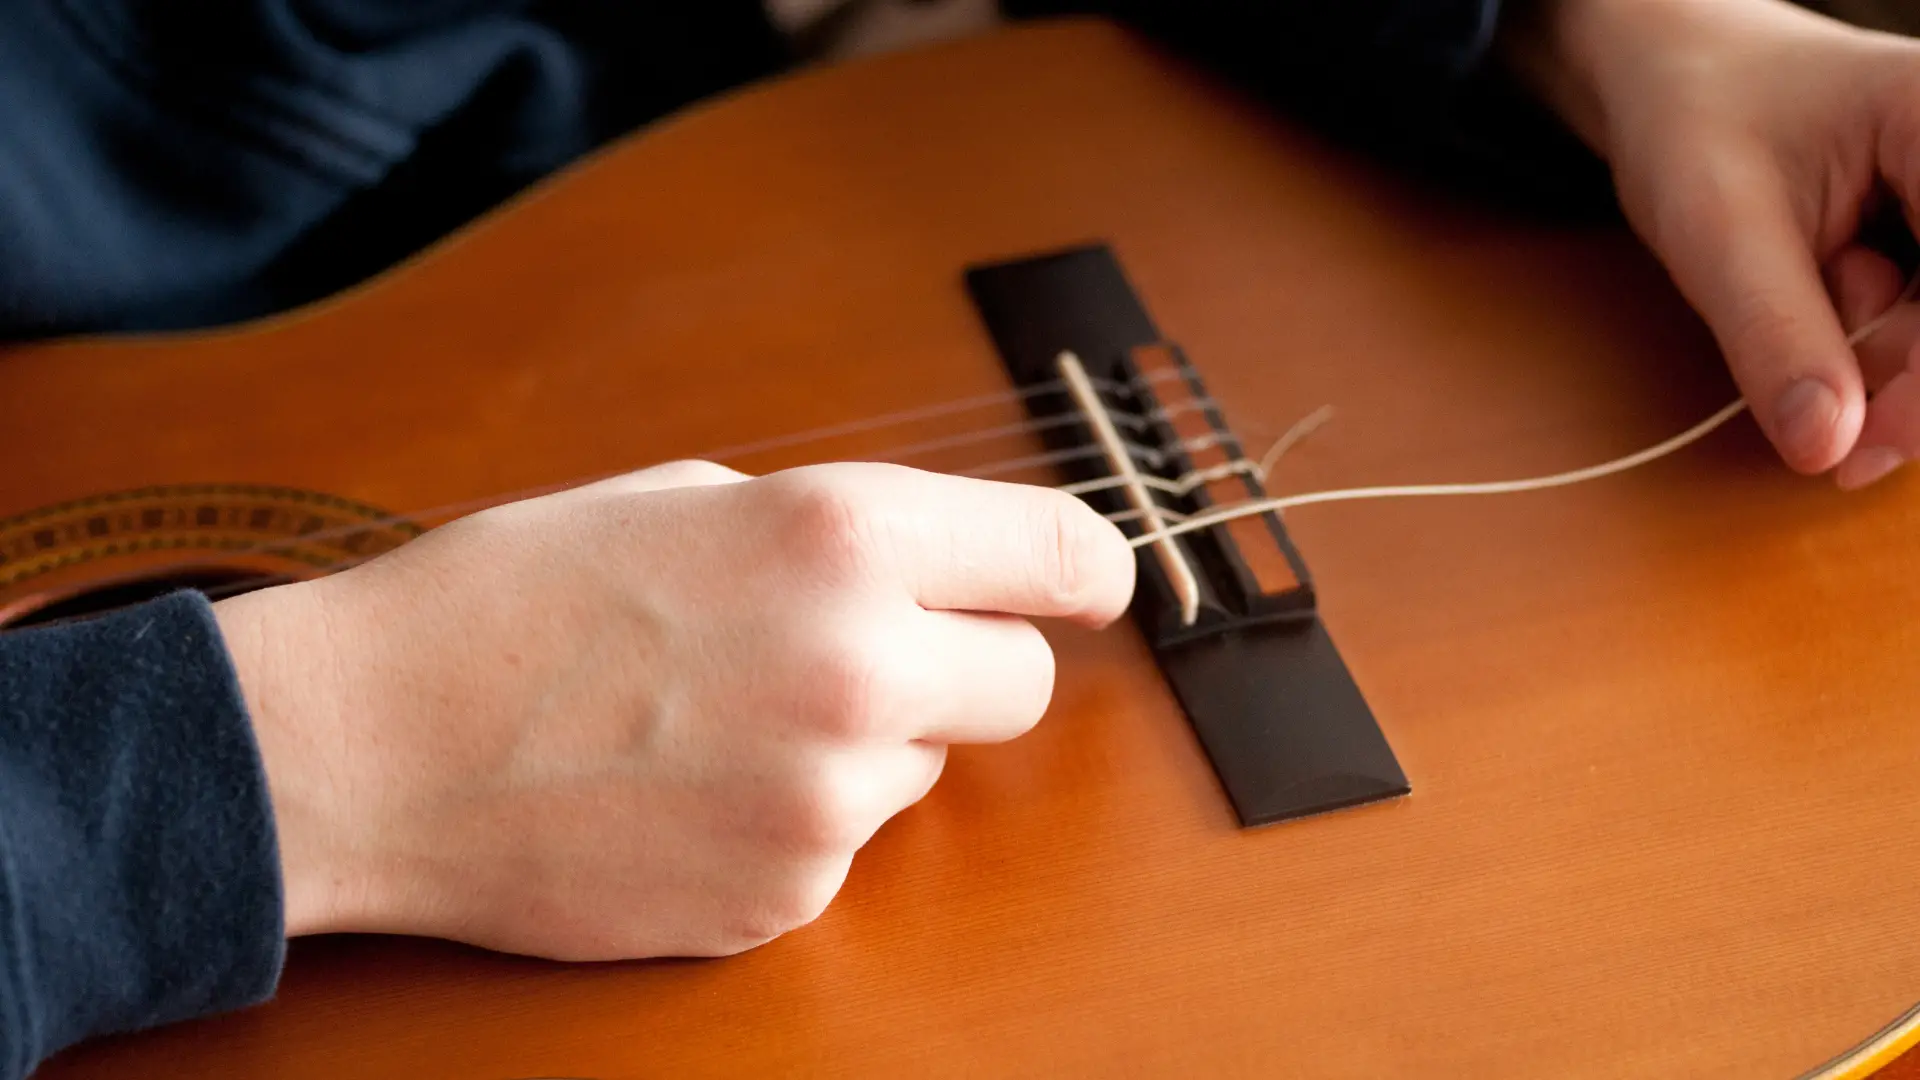
Step 6: String your guitar
Hold the ball-end of your low E string against the bridge pin to produce a slight bend in the string. It allows the ball end to rest on the bridge plate within the guitar – a complete pro move!
Then, insert the string’s ball end into the opening where the low E string is supposed to go. Finally, secure the string by pressing the bridge pin into the hole.
It may be a little sticky, so don’t be afraid to apply some pressure. Alternatively, if pressing the bridge pin in requires too much force, remove it and try again. Repeat this step for each string.
Step 7: Secure the strings
You’ve accomplished half of the tonal shift that occurs when fresh strings are strung on a guitar. The final 50% is how you will thread and wind your strings on its tuner.
- Set the low E string using the tuning post. Pass the string’s pointed end through the tiny hole of the tuning post.
- Tighten the string first, then add loose. Slip the tail end of the string entirely through all the tuning post holes. Check that the string is in the proper nut slot. After you’ve tightened the string, put your palm near the fretboard to establish loose on the tuning post.
- Begin winding the string. Make sure the initial rotation of the tuning post travels over the free end of the string as you wind. It will guarantee that the string is securely fastened.
- As you string the guitar, make any necessary adjustments. The initial wrap of the string around the tuning post must pass over the loose end of the string; nevertheless, the first wrap should not fall off the top.
- Make sure that the new string winding direction is correct. Ensure the string is winding toward the middle of the headstock as you adjust the tuning peg.
- Continue to wind the string. Each subsequent wind will move beneath the string’s tail end towards the headstock following the initial wind.
- Tail Ends Should Be Clipped. Don’t forget to use the string cutters to trim the tail ends. Trim the tail end as near to the tuner post as try to minimize snagging on something!
- Strings should be stretched and tuned. After learning how to string a guitar, you must stretch and tune the strings. Place your fingertip on the 12th fret and gently bend the string. It will stretch the thread and allow it to acclimatize.

Conclusion
It is critical to replace your strings regularly because If you don’t, your guitar’s tone will suffer, and you won’t have much pleasure strumming your guitar if that happens.
Learning how to string a guitar is beneficial. Now it’s time to break in your new guitar strings after you’ve strung them.