Painting a guitar is time-consuming because the guitar needs to be disassembled to achieve an excellent polish. You might have been using your guitar for years, and now you notice its colors are fading.
In this post, we’ll teach you the proper way to paint your guitar in the comfort of your home.
Quick Links
Steps On How to Paint a Guitar
Painting or polishing your guitar requires more effort than just cleaning its parts. Therefore, it is necessary to remember that updating and painting your guitar will consume much of your time and effort. It could last for weeks to get it done.
Make sure not to rush the process of painting your guitar to get the desired outcome. Below are an easy step-by-step guide to painting a guitar.
1. Prepare Your Workspace
When painting a guitar, we recommend that you do it indoors so that the smell of the paint will not attract bugs.
Prepare a sturdy table to place your guitar and other tools and materials to use. You may use a work mat or any cloth and lay it on the table to avoid the guitar from slipping.
2. Remove The Guitar Strings
Start your work by carefully removing each guitar string. You may use small clippers to remove and pull it off from the nuts.
3. Detach The Neck Of The Guitar
After removing all guitar strings, unscrew the neck of the guitar from its body. However, some necks of the guitars have bolts that are easy to detach using a screwdriver, and you can carefully wiggle it from the body.
Other necks are glued to the guitar body. If you’re using this type of guitar, don’t remove the neck from the body. Instead, cover it or match the color to its body.
4. Remove Other Components Of The Guitar
Remove the hardware parts of the guitar such as output jack, strap buttons, pickguards, and other knobs and studs.
Other guitars have electrical mechanisms where the wires are connected. Carefully remove each wire in between holes to prevent each wire from cutting off.
5. Label Your Hardware
Remember that repainting your guitar will take you a couple of weeks to finish. Be sure to put labels in each part and wires of the guitar to avoid confusion when reassembling.
6. Warm Up Your Old Guitar Paint
Using a heat gun or a hairdryer, move it around the body of the guitar.
Heat will help to soften the old finish of the guitar and to come off from the base. Continue heating the guitar surface for 3 to 5 minutes. You may use a knife or a scraper to lift the old paint. If the old paint starts to crack, it is a sign that the paint is heated. Be sure not to damage the wood base under it.
7. Use Sand Paper
If the old paint did not come off after heating, you could use sandpaper with 100 grit to sand down the remaining old paint.
Sanding the surface will make the wood smoother and remove all irregularities. If you choose to repaint your guitar with a transparent shade, you need to remove all excess paint.
But, if you use solid and darker paint, you need to make the guitar surface rough.
8. Apply Fillers
After sanding fill all bumps and holes with fillers that are available in the market. Then, spread it around the body of the guitar. Afterward, leave it to dry and do one last sanding with a finer grit to smoothen the surface, then wipe off the dust from sanding.
9. Use Wood Sealers
If you choose a light color for your guitar, choose a white sealer, and if you prefer darker paint, a gray sealer is for you.
Apply and spread the wood sealer along the grain of the guitar. Do not scrub the surface and leave it for 10 minutes to dry. You may put 2 to 3 coats of sealer if desired.
Once you’ve done it, let your guitar dry in a well-ventilated area for 1 to 2 days.
10. Use Primer Coat
Apply 2 to 3 coats of primer of your choice. Be sure to match the primer to the type of paint you will use for your guitar.
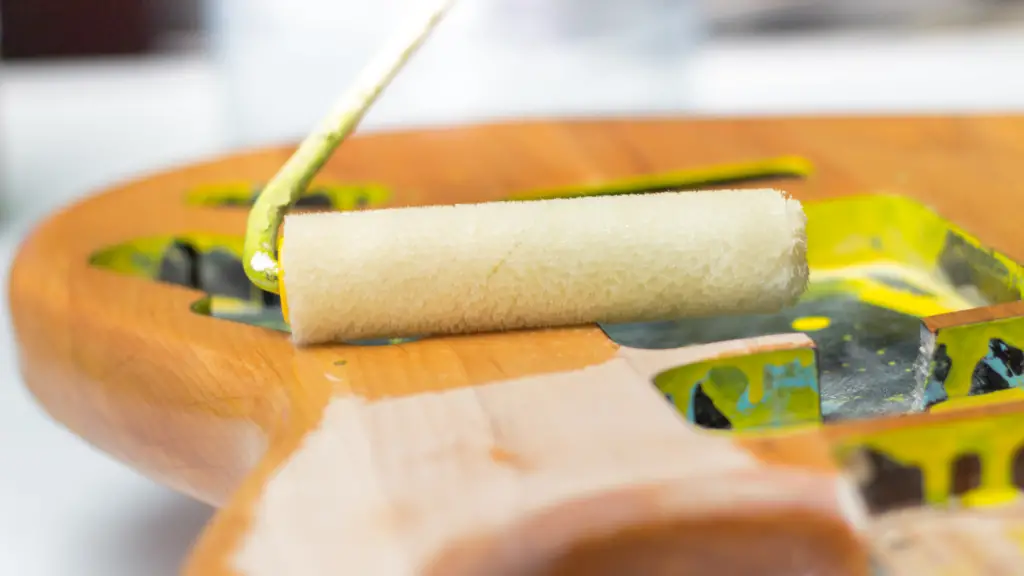
11. Start To Paint Your Guitar
Apply thin coats of paint to make sure it will dry quickly and not drip from the guitar’s body. If you want to apply more than two coats of paint, let it dry for another two days.
12. Paint With Clear Coat
Spray or apply a clear coat after painting with color. Clear coats will give a shiny and clean finish.
You can apply 2 to 3 coats within an hour interval to dry properly. After using the solid color and clear coat, let it cure for 2 to 3 weeks without touching it to achieve a richer color for your guitar.
13. Polish Your Guitar
Polish the surface with guitar polish or car polish to make the guitar shinier. Using a microfiber or any dry and soft cloth, drench it with polish and gently apply it in a circular motion. Wipe off the excess polish with a separate dry cloth to avoid scratches.
14. Reinstall The Guitar Parts
After all the painting procedures, reassemble your guitar back to its components.
Fix the wires, output jacks, knobs, and stubs of the guitar. Lastly, reinstall the neck of the guitar and screw it carefully.
Does Painting Affect The Tone Quality Of A Guitar?
Before you consider painting your guitar, you might wonder if painting affects the sound of your guitar because of reapplying numerous coats of paint and polish.
The answer is no. Repainting your guitar does not affect your guitar’s tone and sound quality.
With proper handling and painting, you’ll see that your guitar has a better look than before.
Good music produced by guitars comes from within the parts of the guitar or any stringed instruments.
What Type Of Paint To Use?
Repainting a guitar is not the same as painting other objects found at home or any wooden objects.
There are two common types of guitar in the market: Acoustic and Electric Guitar. These two are made of different materials and finishes. Both Latex and Acrylic Paints are fine with these two types of guitar, and it only differs in the manner of application.
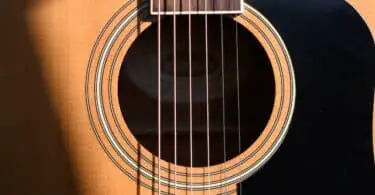
- Acoustic Guitar – When repainting an acoustic guitar, it is recommended to use and apply acrylic paints. Make sure that every time you repaint your acoustic guitar, finish it with a sealing coat or spray to avoid cracks.
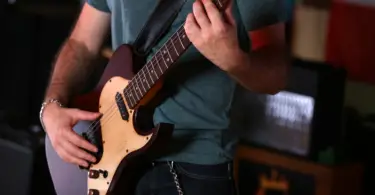
- Electric Guitar – Acrylic paints are also advisable to use for electric guitars. However, painting an electric guitar is tedious compared to acoustic or regular guitars.

Final Words
Knowing how to paint your own guitar will allow you to save money and prevent your guitar from getting damaged in the long run.
Carefully follow the steps above to customize your guitar’s look all you want.